
Screenshot by Destructoid via Twitch.tv/bungie
|
While some Destiny 2 fans deeply mourned SIVA (who appears to be dead for good) during the Heliostat mission, others were delighted with Wolfsbane, the modern exotic axe. Unlocking this weapon’s full potential requires upgrading its internal character, which is done by finding secrets in the activity.
The Heliostat has two different sets of collectibles. Large, glowing, completely inconspicuous Vex symbols are required to upgrade Wolfsbane’s internal Rebirth Directive, while datapads and terminals are the key to unlocking his four catalysts. Below, we’ve explained the essential (and skippable) locations needed to extract ax sap.
How to improve Wolfsbane in Destiny 2

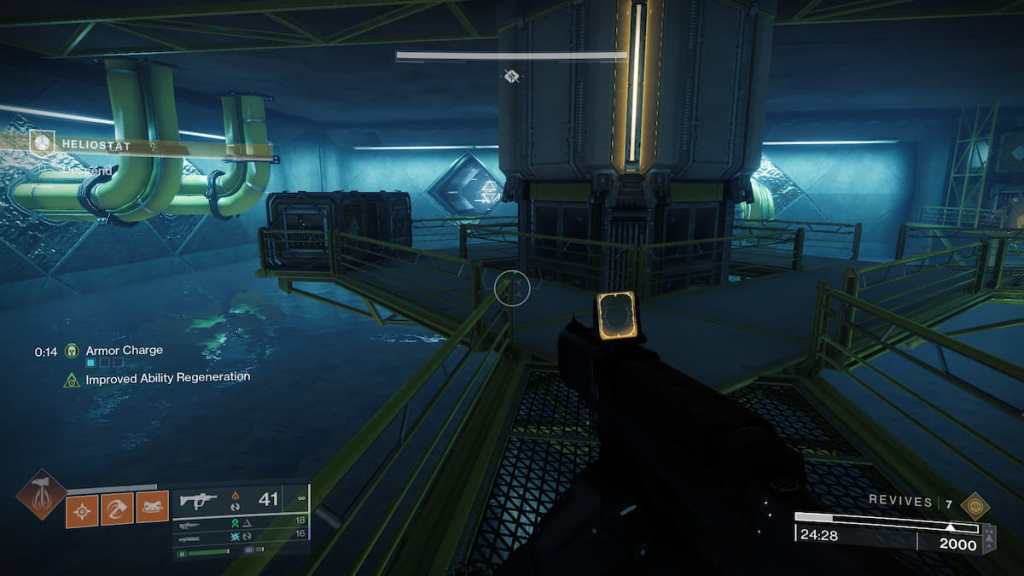
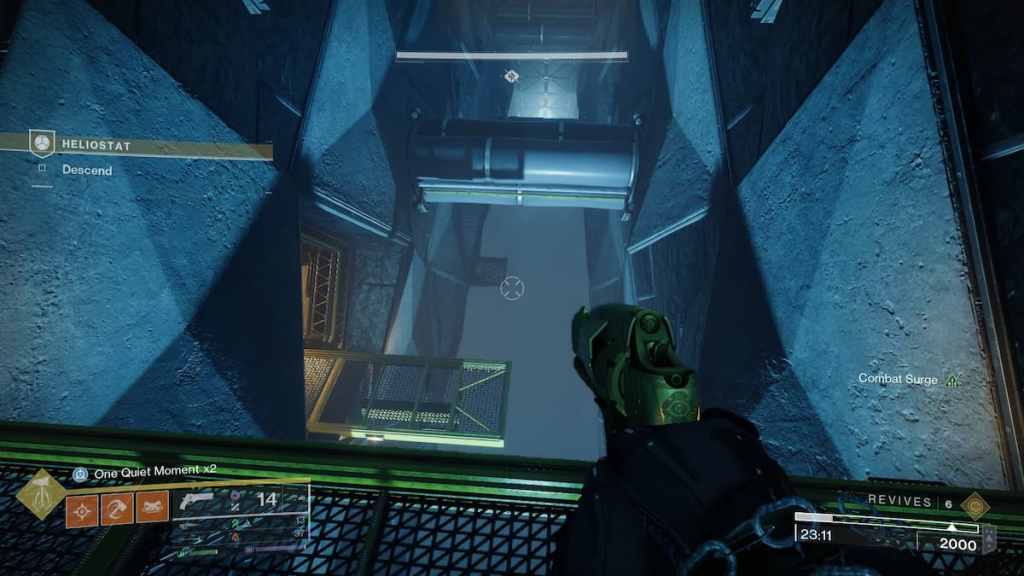
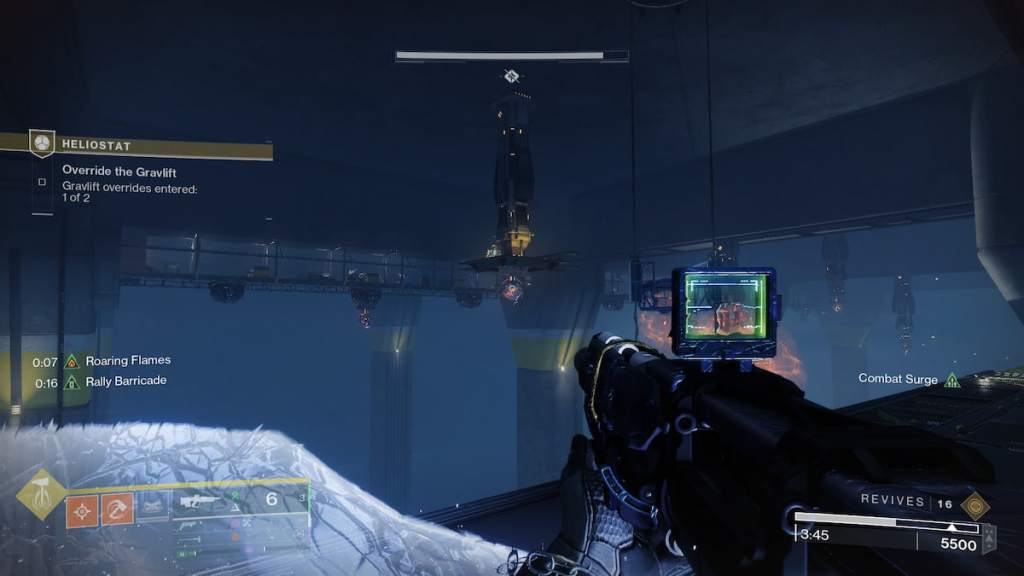
While you can shape your battle ax as soon as you complete the first launch of the Heliostat, the greatest shaping options are available behind upgrades. There are three sets of Vex nodes placed at key points in the missionand you must destroy them with Wolfsbane to unlock the appropriate upgrade. Hitting them with anything else prompts a resistance prompt.
In solo mode we had to break all nine Vex nodes, but in fireteams the math is different. Ostensibly, the symbols are related to the number of players who have not unlocked this internal element. Theoretically, on a full team, each guard should only break one set of shapes, although your mileage may vary. If you are alone, you should get an inner element after each group of three symbols.
First internal Wolfsbane upgrade location (Rebirth Directive II)
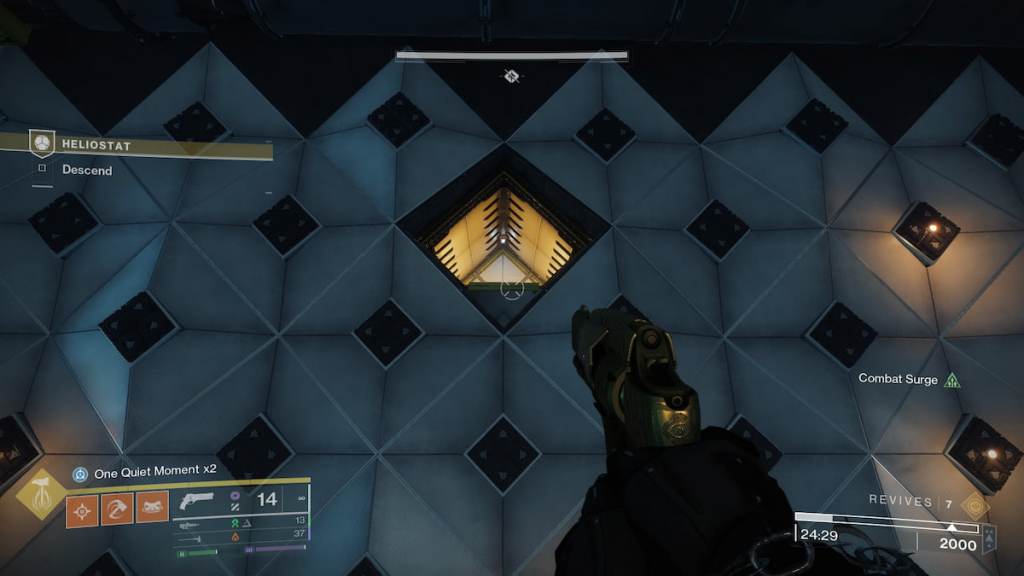
The three glyphs in the first set of symbols required for the inherent wolfsbane are diamond-shaped. After destroying four security nodes first, drop down to the water-filled area and look for the first symbol in one dimly lit alcove. It is located to the left of the terminal, opposite the actual exit, on the other side of the room.
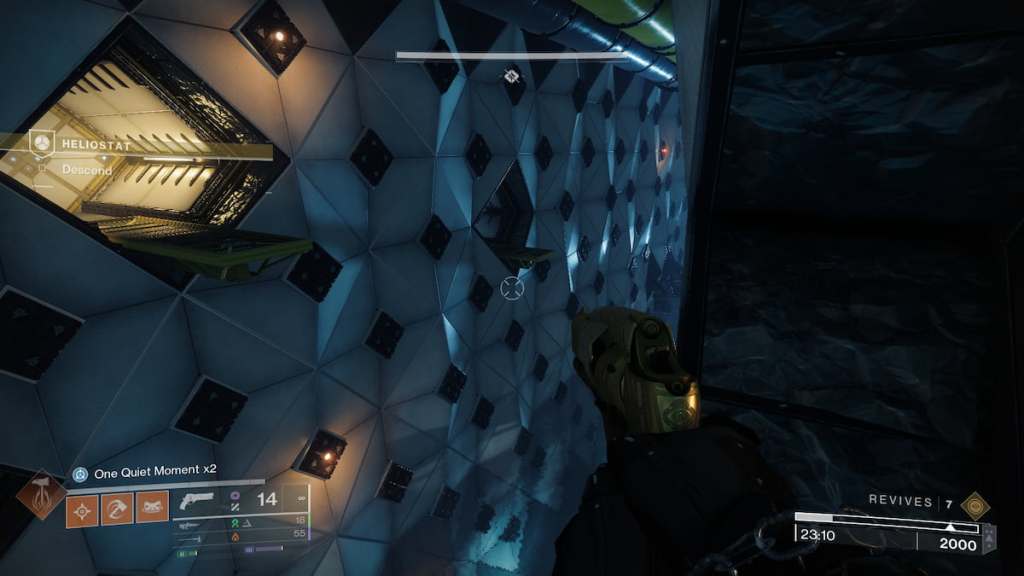
The next diamond is in the next section. Keep going until you see an alcove with a lamp slightly above you. When you get there, look left or turn right if you jump over.
The final diamond is located beyond this area as you enter the obscure hallway. This compact cavity is hidden behind a pipe that is arduous to see unless it is moving. Go into the room with a long walkway in front of it, then look for an unlit corner below and to the right.
Second internal Wolfsbane upgrade location (Rebirth Directive III)
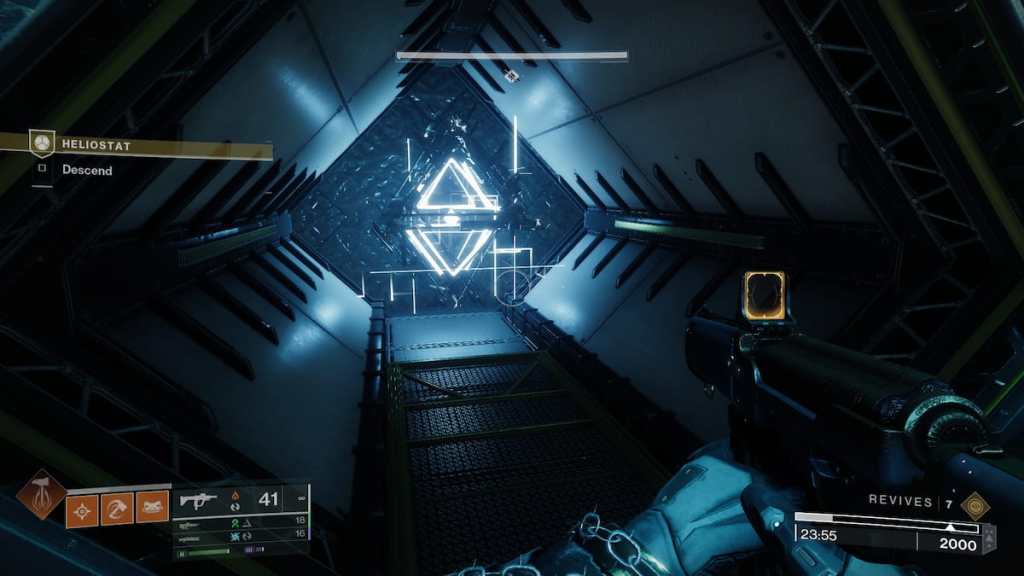
The next set of symbols can be found in the longer parkour section. You’ll find them in different orders depending on the path you choose, but the most essential thing is to break any shapes with Wolfsbane.
After taking the elevator to your right, you’ll come to an area where two goblins are shooting at you from a high ledge, and to their right is a tiny yellow walkway. Look for this symbol across from the Goblins, hidden behind a wall.
The other two shapes appear on the other side of the room. They are very observable and stand in your way. One is just at the beginning and the other is not too far ahead.
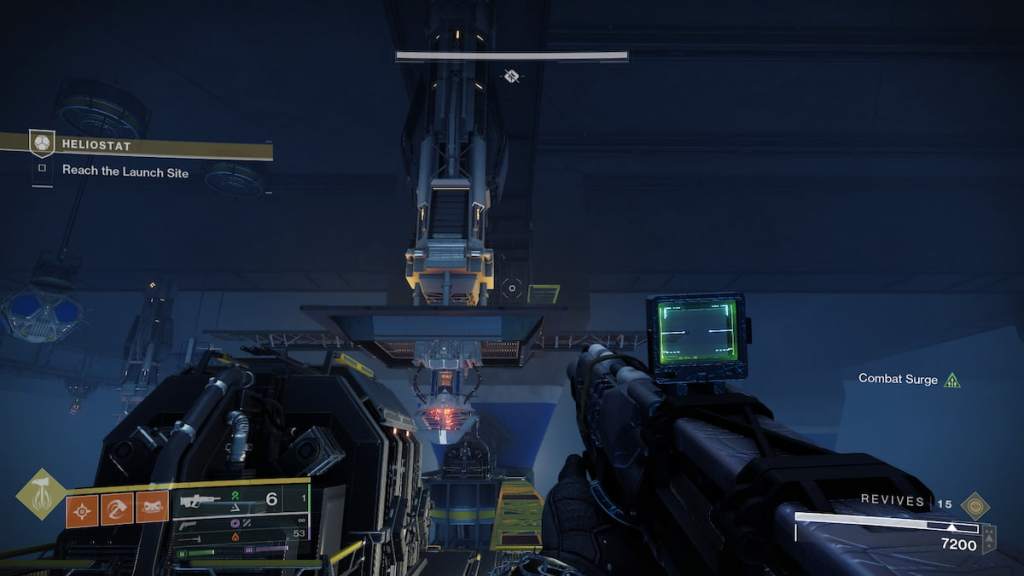
Third internal Wolfsbane upgrade slot (Rebirth Directive IV)
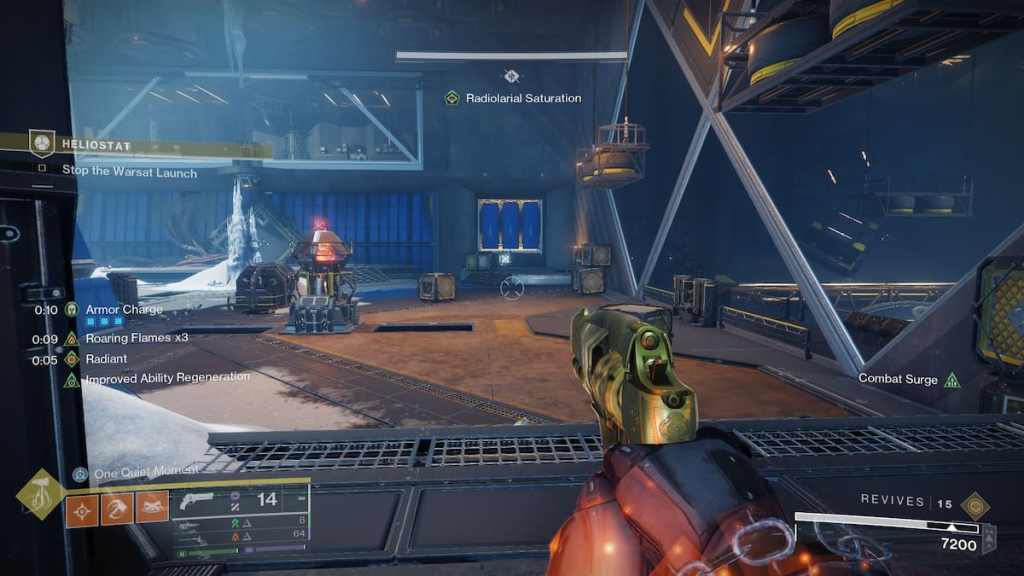
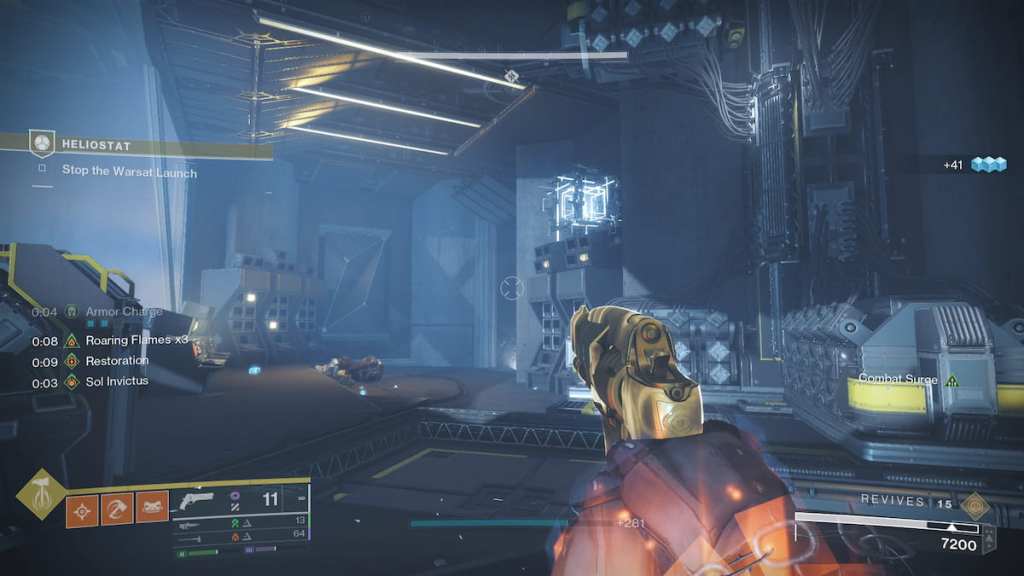
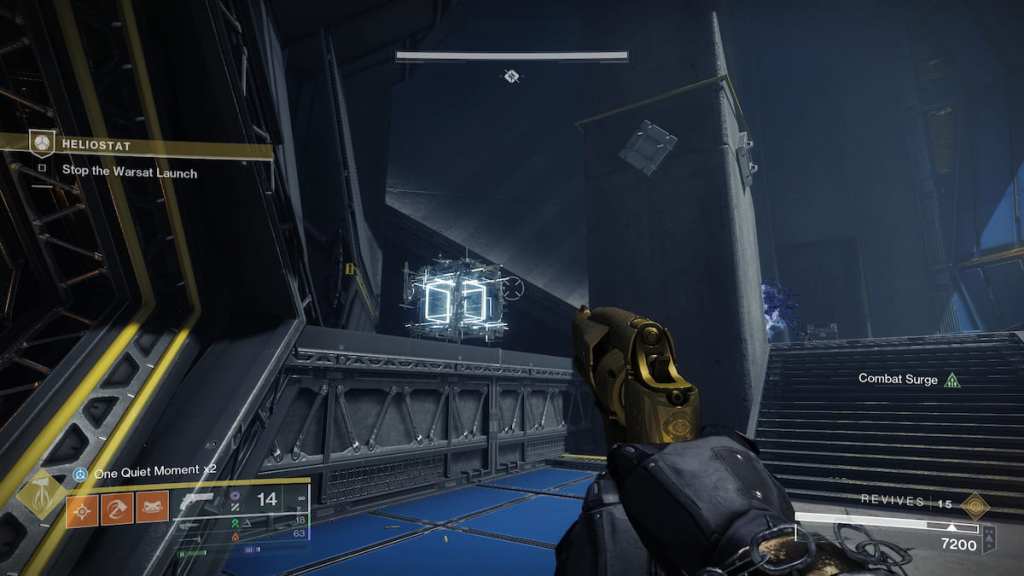
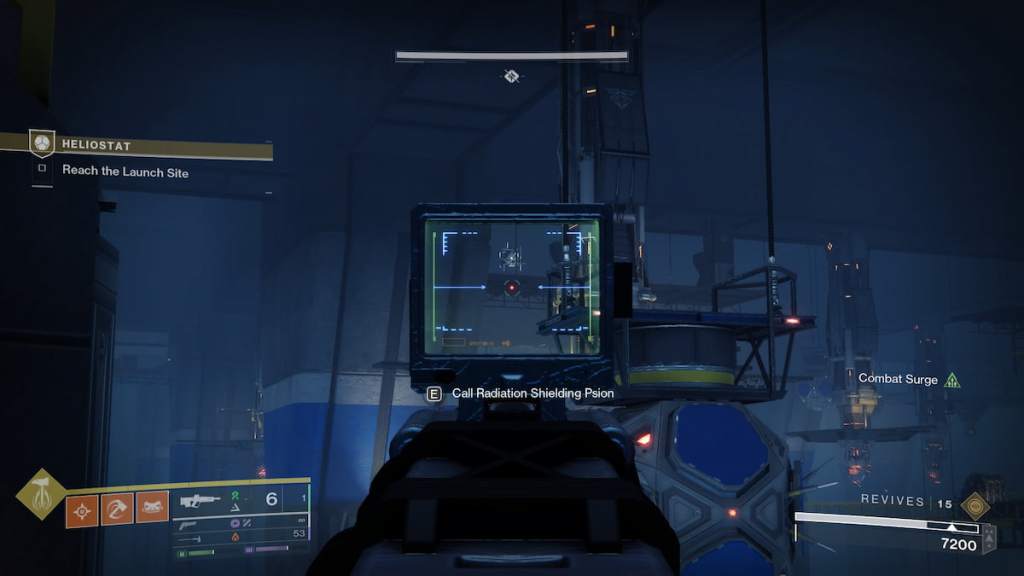
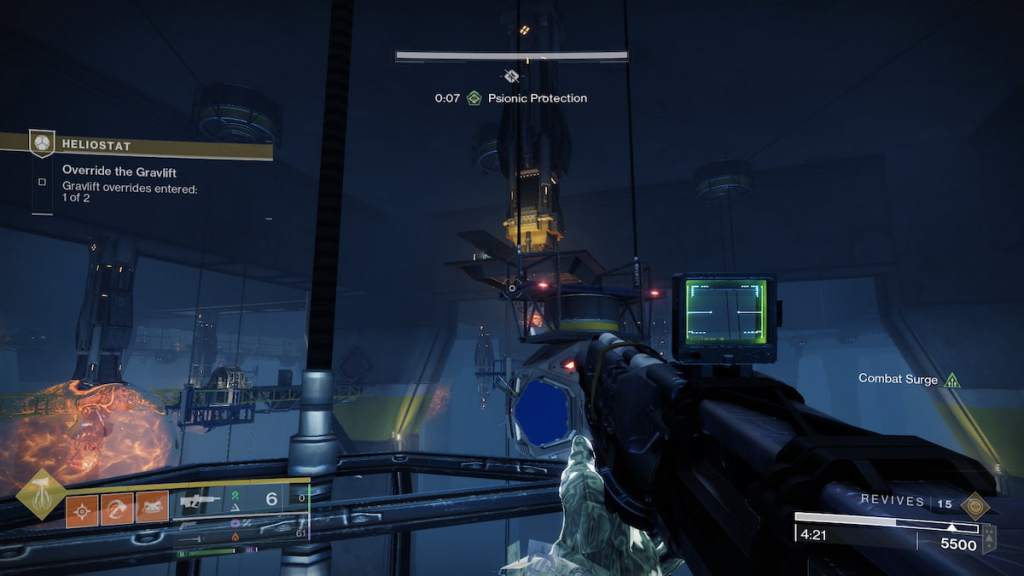
The boss room is divided into three parts: the main area and two adjacent rooms required for the hacking mechanic. There is a symbol in each of them.
From the spawn point, one of the squares is on the back left side of the room. In the Hacking Psion’s summoning area, there is another one floating above a computer terminal. The last shape you need is on the left after you break through the second wall with Quicksilver Psion.
If you have destroyed all the symbols, you should get the three necessary items, although being on a fireteam may yield different results. This allows you to shape the hilt and blades (yes, plural) of the Wolfsbane, giving you some room to design this weapon as you see fit.
Do you like our content? Set Destructoid as preferred source on Google in one step to make sure you see us more often in your Google search results!