
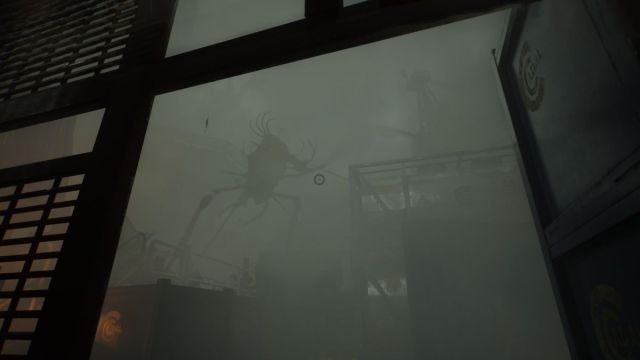
After passing by Trots It still evokes depth, you will go outside and hear a strange howling. This noise comes from Muir, another member of the oil rig crew who has been tragically mutated by what the rig crew has encountered and is feeling alone.
Muir is a powerful being that patrols a immense area in search of surviving crew so that it can absorb them into its mass. When you meet him, he quickly captures Dobby before you find Innes, another survivor, who will tell you where to go. The only way forward is around Muir, so you’ll have to go back to sneaking and throwing things to distract him from where you’re hiding.
How to get past Muir It still evokes depth
The meeting with Muir is divided into several stages. The first stage requires you to ponderous down and sneak around the deck, hiding at every opportunity. Muir moves around the area quite quickly, so as soon as he passes your position, head to the next area where you can hide.
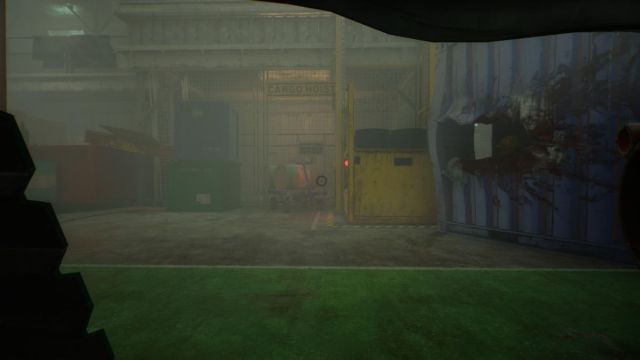
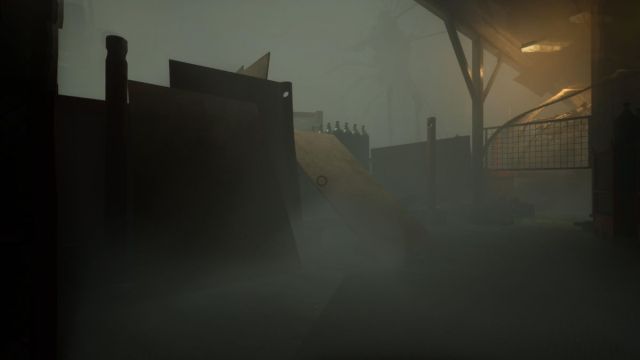
You can see what the hideouts look like in the image above. Most of them are marked with yellow paint, but there is usually another hiding place nearby. Muir is speedy and will run up to you quite quickly if he sees you. To prevent this, you can always pick up one of the objects lying around the platform and launch it from where you want to go next.
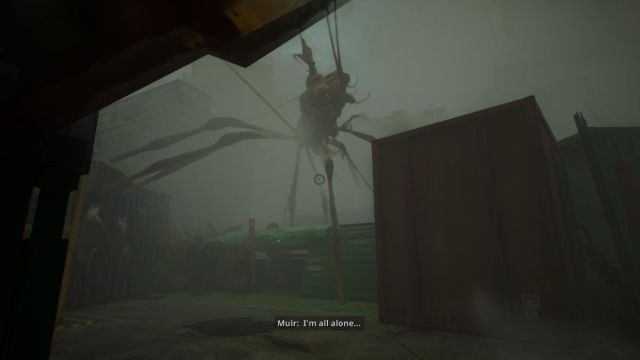
Unlike Rennick, Muir will simply continue patrolling the area. He won’t go away, so no matter how stressed you become, you have to continue. When you reach the area shown in the image above, where Muir looms over the area and the fog blocks what’s in front of you, throw something away from you and step into the fog. There is a immense green container where you can hide.

Getting into the container will trigger the next part of this meeting. You have to get out of here, but Muir will definitely see you and chase you. The way I finally overtook him was to throw an item to the left of the forward path, wait for him to move, and then run to the container straight ahead.
The next section is more of an environmental puzzle, covering Muir and returning to the area. Continue walking, crawling through the low spaces until you reach the place where you will find Innes again. He’s stuck in a container, but you both see an exit ahead of you. It’s blocked by the elevator, so you have to move it.
Muir will join you shortly after Caz and Innes finish their conversation. This is another area where you have to follow the yellow paint and slowly move between hiding places. There are plenty of things to throw around, so pick them up and create something to distract him if you need to.
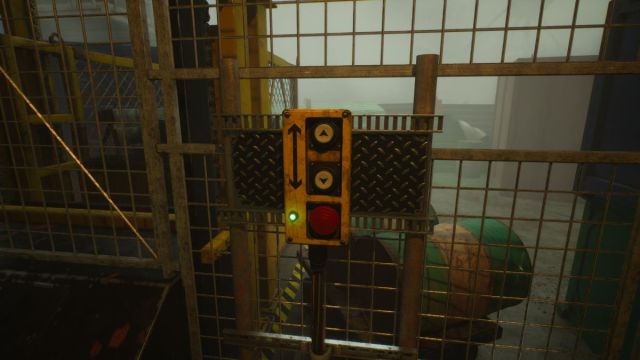
Once you’ve avoided Muir enough, you’ll reach the cargo lift controls. This worried me a bit, so be careful. You must first press the red button and then press the up button to make the cargo lift move up and away so Innes can escape to the exit. Don’t worry. He’s waiting for you in the elevator.
Now that the cargo lift is out of the way, it’s time to run. Muir will be aggressively looking for you because the machine was making so much noise. You need to throw an object to get it out of the way and then run to the elevator. Innes will lend a hand you with this, but the cutscene that follows shows that all the effort he put into avoiding the monster only helped save Caz.