Iconoclasm is the last mission in the main campaign Destiny 2: Final Shape. It’s the culmination of everything you’ve seen so far and forces you to finally take the fight to the Witness. You may not feel ready, but don’t worry. You are certainly not alone.
After completing Discord, Iconoclasm will be the only mission left in the game Destiny 2: Final Shape campaign. From the very beginning, this mission will test your skills and your perception of the surroundings, which slowly crumble around you into little more than illegible cubes. Equip yourself with the best weapons like The Call and jump into the game with at least an hour to spare. It’s a long process that you don’t want to rush through.
How to complete Iconoclasm in Destiny 2: Final Shape
Below I have described how to complete Iconoclasm in Destiny 2: Final Shape in easy-to-follow steps. Almost every encounter once it opens has some sort of mechanic to assist you get your bearings. Take your time and you’ll get through this game while having a lot of fun.
Step 1: Break through the darkness
Once the mission begins, follow the objective marker until enemies begin to appear. Believe it or not, this is the easiest part of the mission, but don’t be afraid to throw everything you have at it. When you defeat enough enemies, the Tormentor will spring into action. Kill it and you can grow.
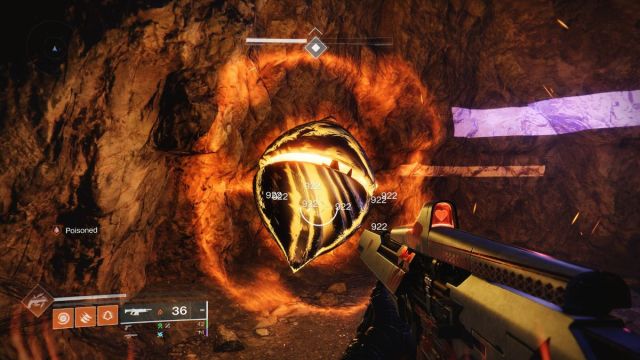
Proceed and follow the objective markers to the ritual site. You’ll find a Prismatic Chest along the way, but you’ll soon come to an area where the Witness’s influence will start to damage you. To combat this, you need to shoot the floating red orbs within their radius until they explode and give you the Shield from Darkness buff.
Continue marching forward; you will eventually find a mirror in the dim. Step inside and see what the Witness wants to show you. When you emerge, prepare for a challenging fight.
Step 2: Defeat the Blessed Witness Eshkin’Tuk
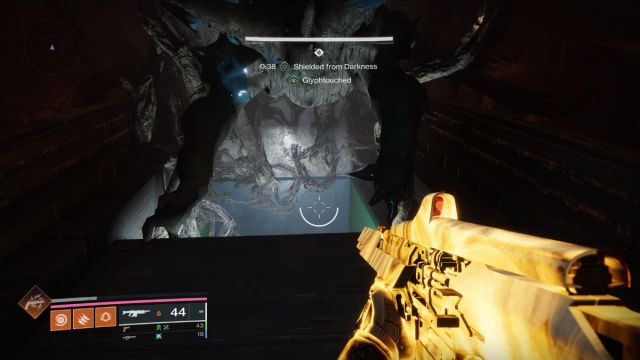
the room you find yourself in will quickly fill with enemies. Some of them will be bound, so don’t be afraid to fire your Prismatic Energy and destroy them quickly. After killing a gigantic number of enemies, you will have to shoot two objects. The first is one of those darkness padlocks that gives you the Glyphtouched status, and the second is the red orb from earlier in the mission that gives you the Shielded from Darkness status.
After shooting the red ball, jump down after it to the floor below through a gap in the floor, like the one in the picture above. On this floor below the main room you need to kill two gigantic enemies and check what Glyphs they drop. Once you have the glyphs, operate the portal to return to the floor above, then jump to the glyphs you saw, where they appear on platforms in each corner of the room.
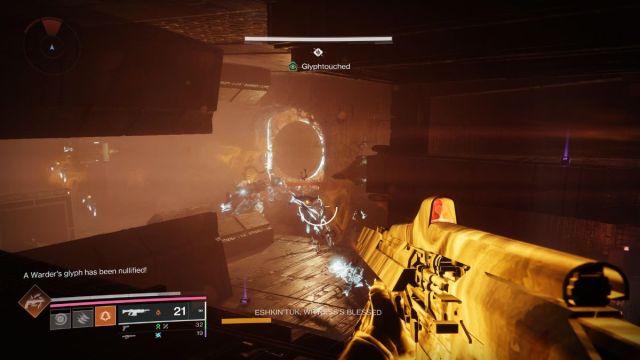
If you get it right, you’ll appear in Eshkin’Tuk Witness’s Blessed, a pretty powerful mini-boss. Defeat him and everything else in the room and you will end this encounter. The only way is to go through the Mirror of Darkness again, so get ready for some more revelations.
Step 3: Continue on and defeat Dolgith, the Blades of Reasoning
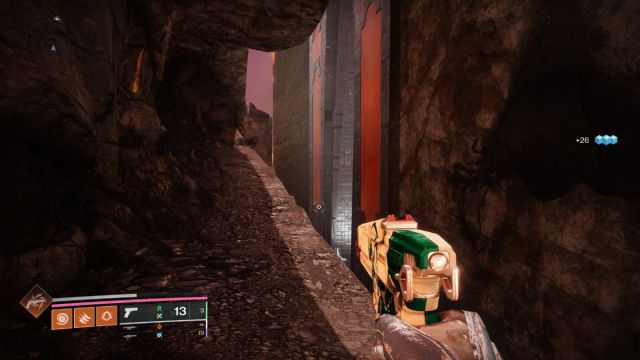
The first part of this step is mostly about exploring the darkness and platforming around the Pale Heart. There are a few enemies in the area, but it’s mostly a break from combat before you enter one of the most intense fights of the entire campaign.
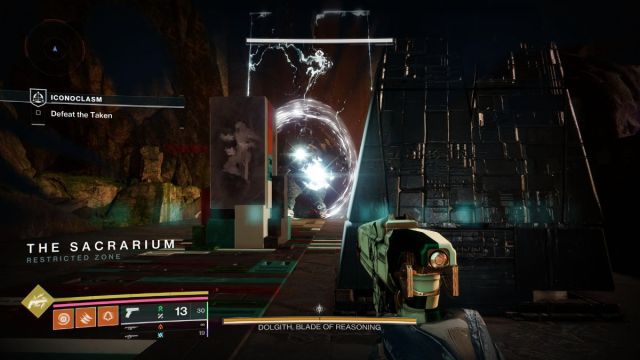
When you reach the gigantic open arena, Dolgith, the Blade of Reason, will appear. This colossal Ogre Taken doesn’t play around and neither do the enemies in the arena. Immediately jump up and away from Dolgith and clear out any enemies as well as the Taken Blights in the area.
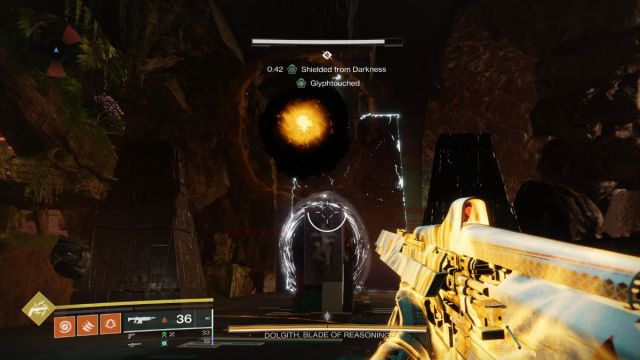
Once all Taken Plagues are destroyed, shoot the darkness lock and the red orb to be touched by the glyph and protected from the darkness. Then jump into the orange portal that should appear in the middle of the arena. This will take you to a fresh area under the floor.
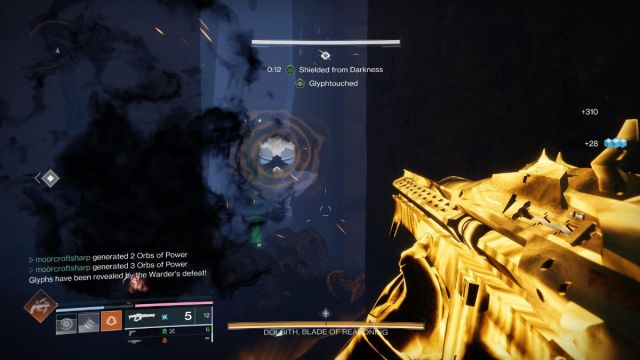
The fresh area is dim, scary, and full of Taken enemies. Move carefully, killing everything that gets in your way. There are two powerful Taken Knights, one on each side of the floor, and you must kill each of them to make them drop the Glyphs. Note that you also need to shoot red orbs from time to time to maintain your Shielded From Darkness status and avoid grizzly death from exposure.
These Taken Knights are sneaky. At first they will disappear when you shoot at them. And when you see them again, they will start rushing you. Don’t give up and shoot them until they die. Then go ahead and find the other one and make sure you memorize the glyphs he drops.

Once you know what both Glyphs are, return to the surface through the next orange portal and you will see the Glyphs in the arena. you need to activate the Glyphs you saw when you killed Ul Taken, so jump and only activate those Glyphs to summon the Relic.
Pick up the Relic and wait for it to charge. Once he does this, shoot Dolgith to remove his shield. This will allow you to shoot at him and drain half of his health before his shield returns. Never stand on the same level as the mini-boss Taken Ogre, or it will destroy you. Keep your distance, operate your Ultimate and stay alive.
The second phase of this fight is the same as the first, but much more intense. Keep tranquil, take it out. Taken Blights, then Taken Hive Below, hit the Glyphs and finish off Dolgith. Once you know the formula, it’s not complex at all. Just don’t go too quick or you’ll die and have to repeat the whole process again.
Step 4: Defeat the Witness
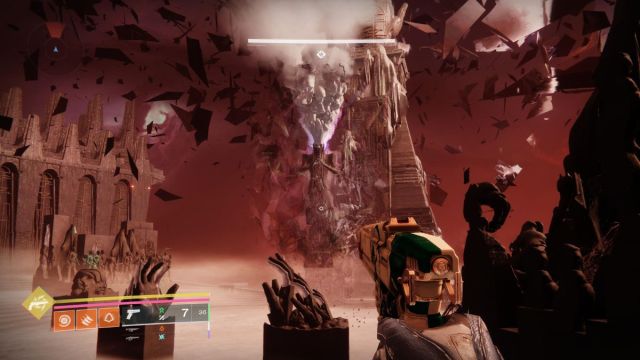
Push through the next few rooms and you’ll reach the final platform where you’ll encounter the Witness. This is by no means a customary boss fight. Instead, the Witness will summon other enemies to intimidate you, which you will have to kill while he jumps around and occasionally shoots shrapnel at you.

Find cover between you and the Witness so you don’t die from one of his shots. When the gigantic yellow enemy with a health bar with a shield appears, run to one side of the area. You need to go behind the bars and pick up the Relic there. Use it to remove the enemy’s shield and kill him.
But keep this Relic close, or the Witness will create a storm that will kill you. To avoid this, pick up the Relic and reach the Light energy slot on the floor. Use the Relic’s shield power over the rift to stay alive and survive the attack.
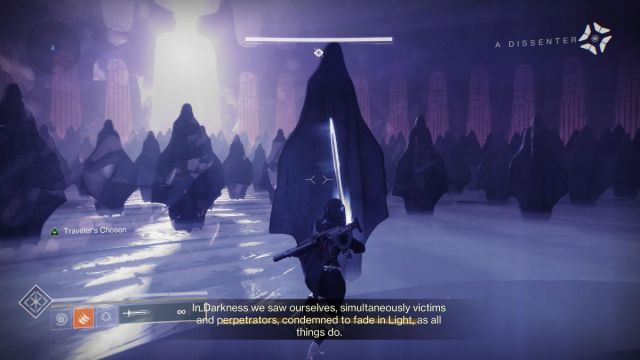
After this storm, a sword will appear. Pick it up, run to the center of the arena and attack the Darkness Castle. This will take you to a fresh area with covered statues. Listen to what they have to say and then destroy one of them.
Now you need to repeat this process two more times. Yes, it gets a bit more intense the second time around with even more enemies, but on the third try the Vanguard will assist you kill anything that moves.
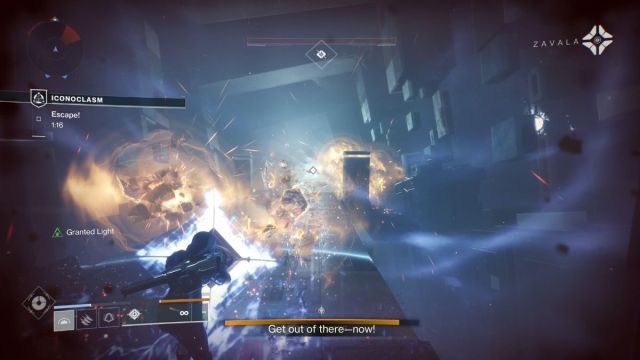
After destroying the last statue, you will find yourself in a corridor with almost no health. You must advance further by picking up the Relic and using its shield to protect yourself from enemies. Don’t worry about losing energy as the Traveler will break through and recharge you at key points as you walk.
Once you reach the end of the corridor, the mission will end. This is not a total victory, but it shows that the Witness can be injured. This leads to Salvation’s Edge and Excision.
