The Side quest “Arbitrary Measures”. IN Outer worlds 2 gives you the chance to meet Tristan, the Protectorate referee, and lend a hand him make contact with the shady Information Broker. The arbitrator has his own reasons for talking to the Broker, but they are so significant that he wants to cooperate with third parties – that is, you.
Together, you must search for clues in the Golden Ridge refugee camp and find out why the inhabitants have not contacted the Broker for some time.
This mission can be a bit tricky as the clues will reveal more information if your skills are at a certain level, which will in turn improve your relationship with Tristan. However, completing the task may result in gaining another team member.
There’s a lot to do, so here’s how to do it Complete the “Arbitrary Measures” quest in Outer worlds 2.
Location of the “Arbitrary Measures” quest in The Outer Worlds 2
To start the “Arbitrary Measures” quest in Outer worlds 2interact with Barney “Bruiser” bass.who is a bartender in Second choice bar at the Free Market stationand select one of the following dialogue options:
-
“What seems to be the problem here?”
-
“Why not allow him an audience with the Broker? At least he won’t bother you anymore.”
-
“It seems like a meeting with the Broker might be useful… somehow. Maybe we could work together.”
-
“Looks like a plan. I’m in.”
Walkthrough for the “Arbitrary Measures” quest in The Outer Worlds 2
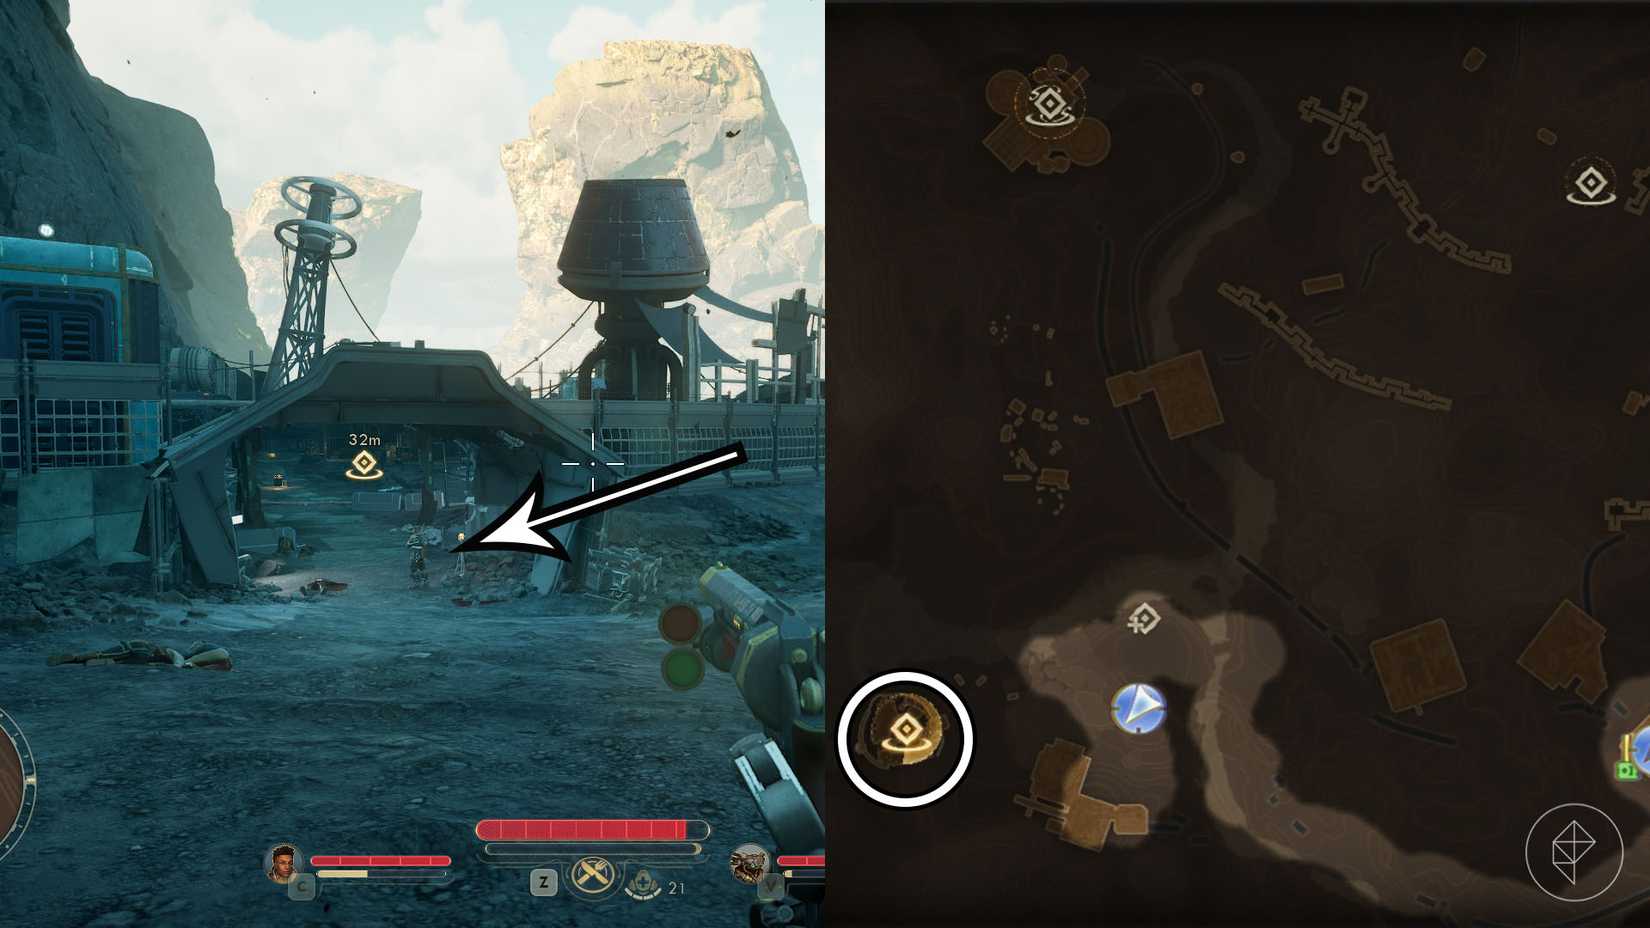
After accepting the order to explore the camp with Tristan, return to your ship and go on a journey Dorado. The refugee camp is located at ul southwest side of Golden Ridge, to the left of the “Guardian Mansion” quick travel point..
Tristana is waiting for you at the entrance to the refugee camp, and after a miniature conversation you will learn that all the refugees are dead.
To find out what happened, you need to do this Explore the area and find five clues around the camp. When you find the clues, you can discover more information if you have certain skills at level five.
The quest will continue even if you don’t reach the required skill level, so you don’t have to worry too much about it. Obtaining all the information will improve your relationship with Tristanwho will be impressed by your acute eyes. However, if you don’t care about your relationship with Tristan, you can simply find one piece of evidence and select the “I’ve finished my investigation and I think I’ve covered everything I wanted to” dialogue option that speeds up the task.
Tip #1
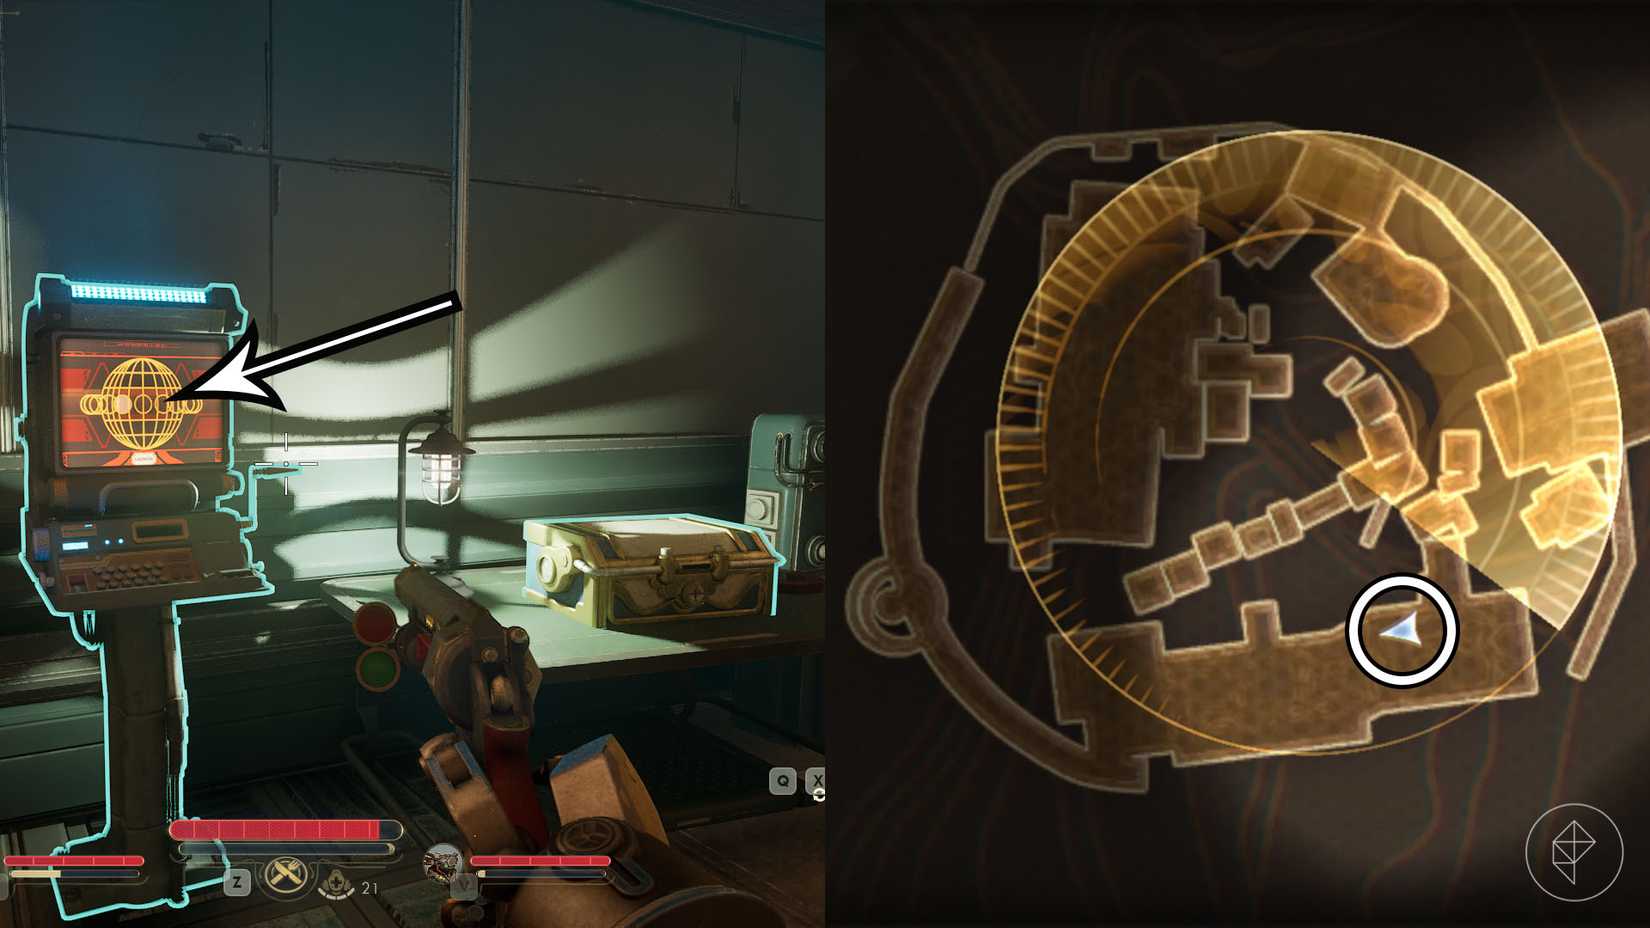
On the south side of the camp you will find a building with blue walls camp terminal. Read the two entries to learn about the automech’s defensive forces.
Tip number 2
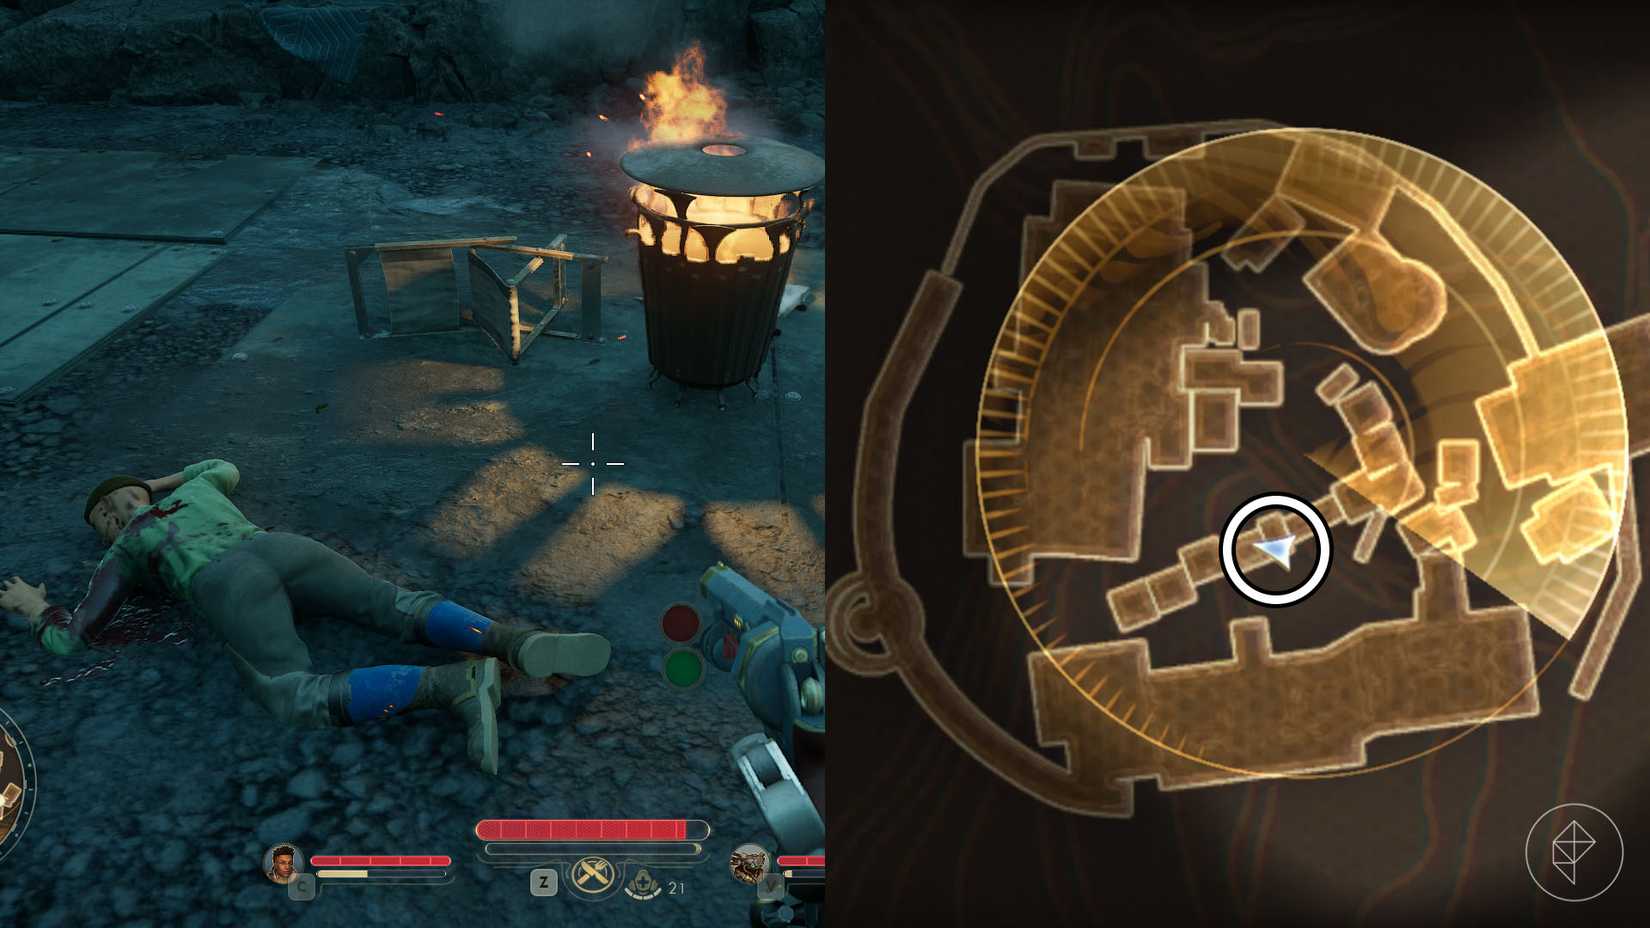
West of the entrance to the southern building you will find corpse next to a burning basket. Examine him to identify any wounds. You can get more information about this person’s death if you have it Medical skills at level five.
Tip number 3
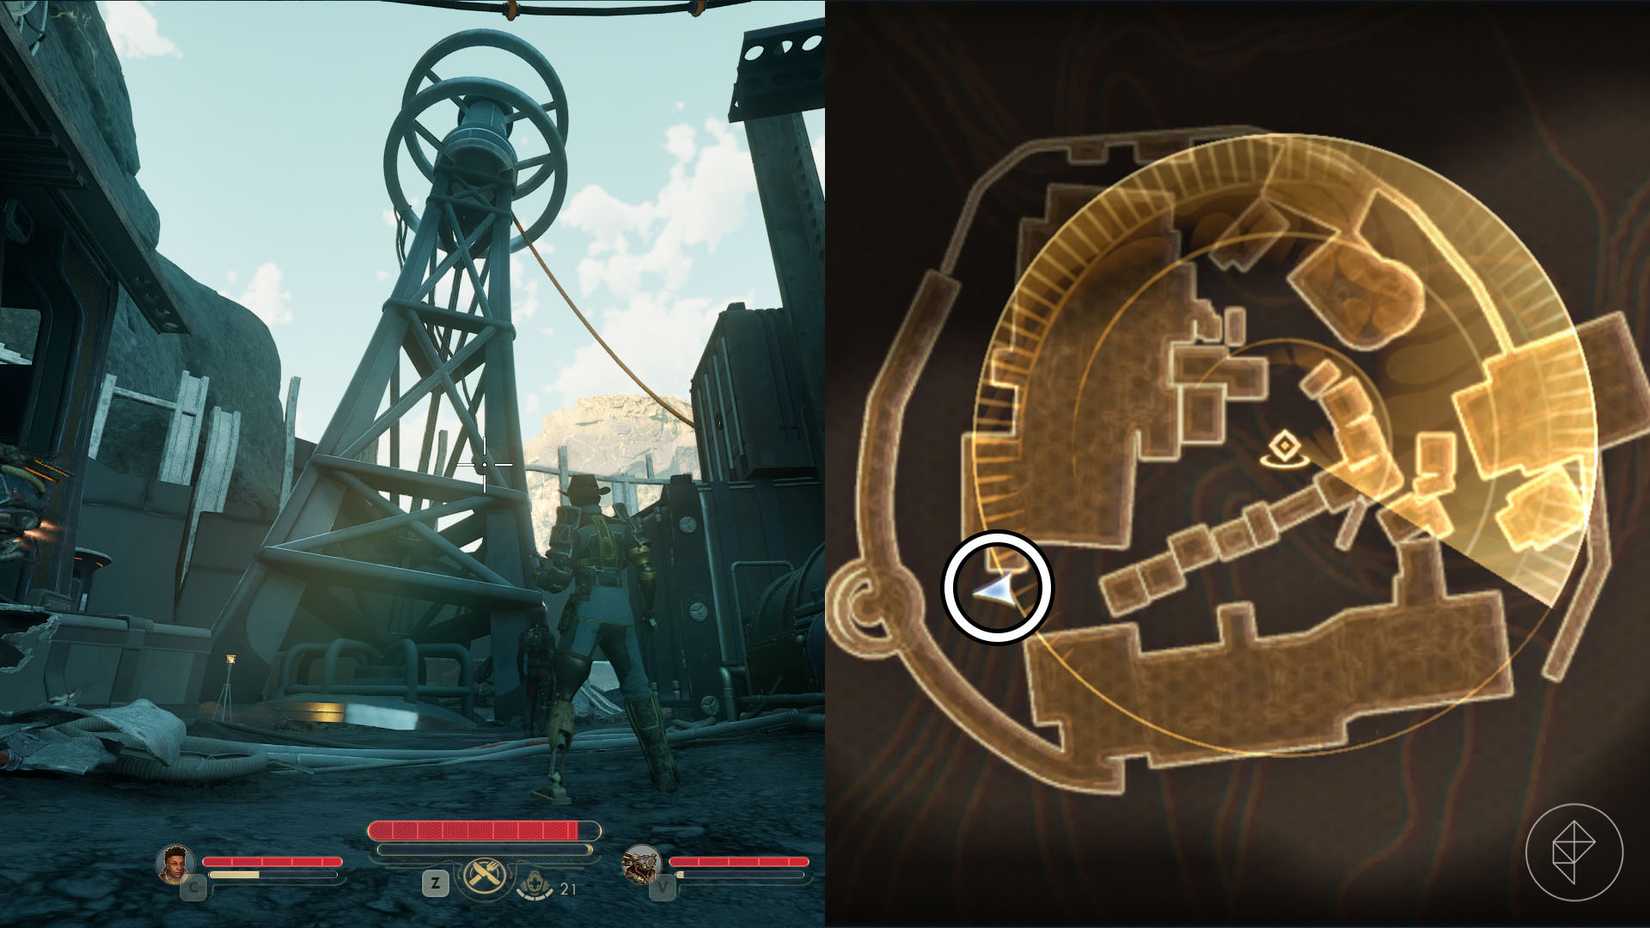
West of the corpse you will find it transmission tower. It’s completely destroyed, but if so level five Engineeringyou can get more information about the tower.
Tip number 4
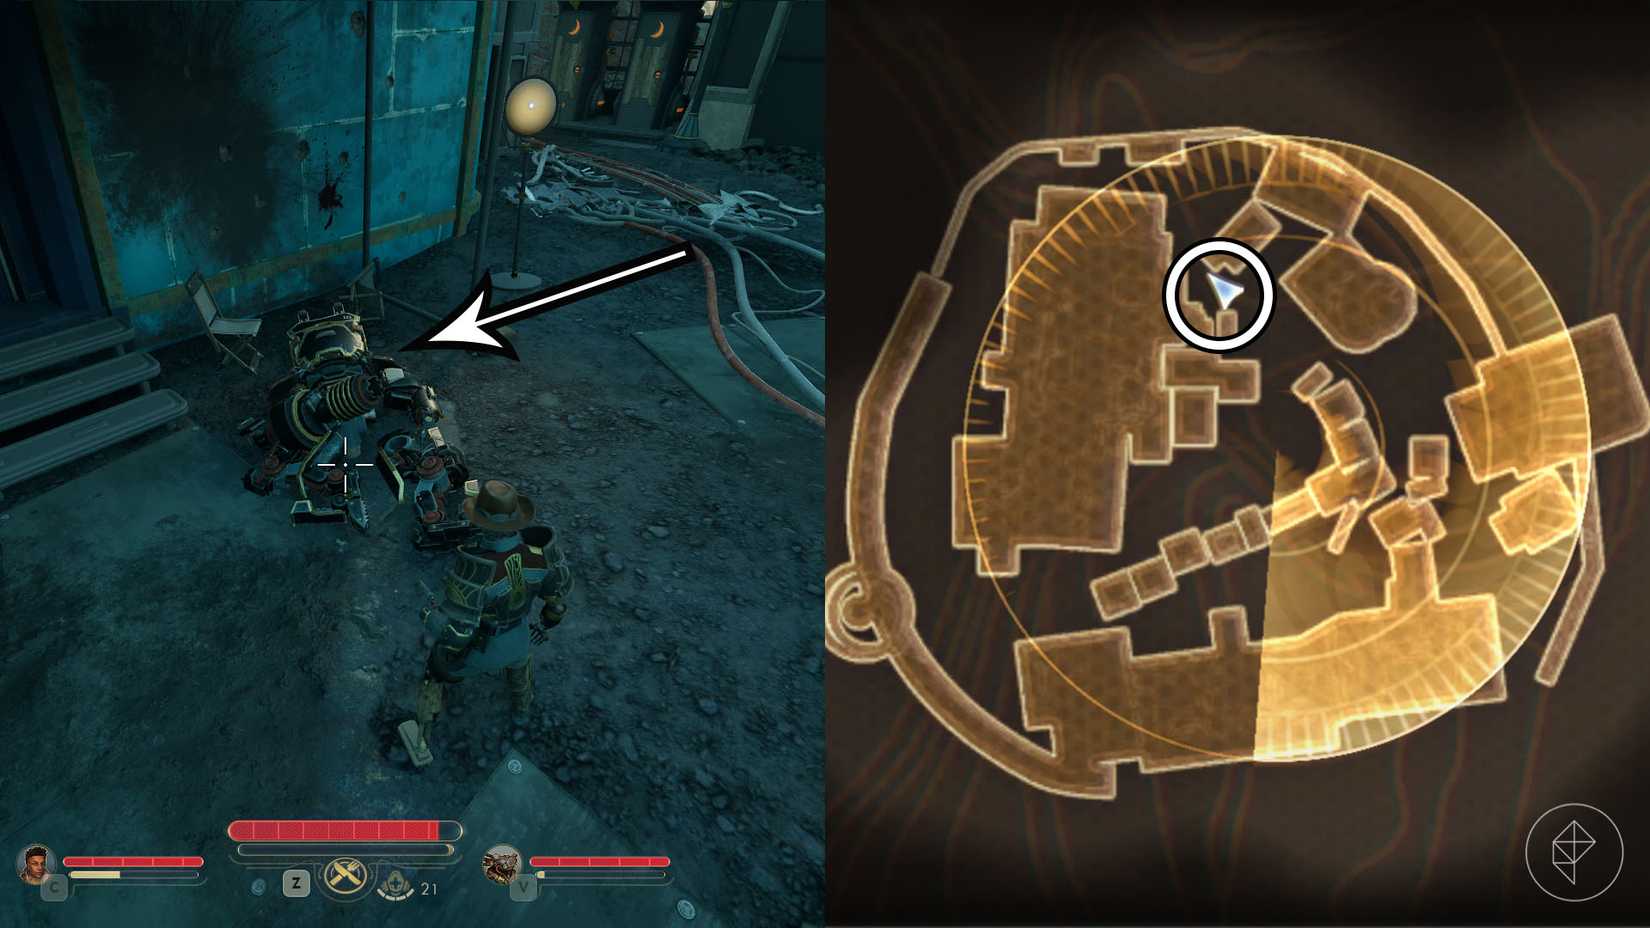
Go north of the camp and search automechanical wreck near the entrance to one of the buildings in this region. The area shows signs of fierce fighting, and the automechanic’s barrel has warped due to the heat. To really know what happened to him, you must have level five Hack skill.
Tip number 5
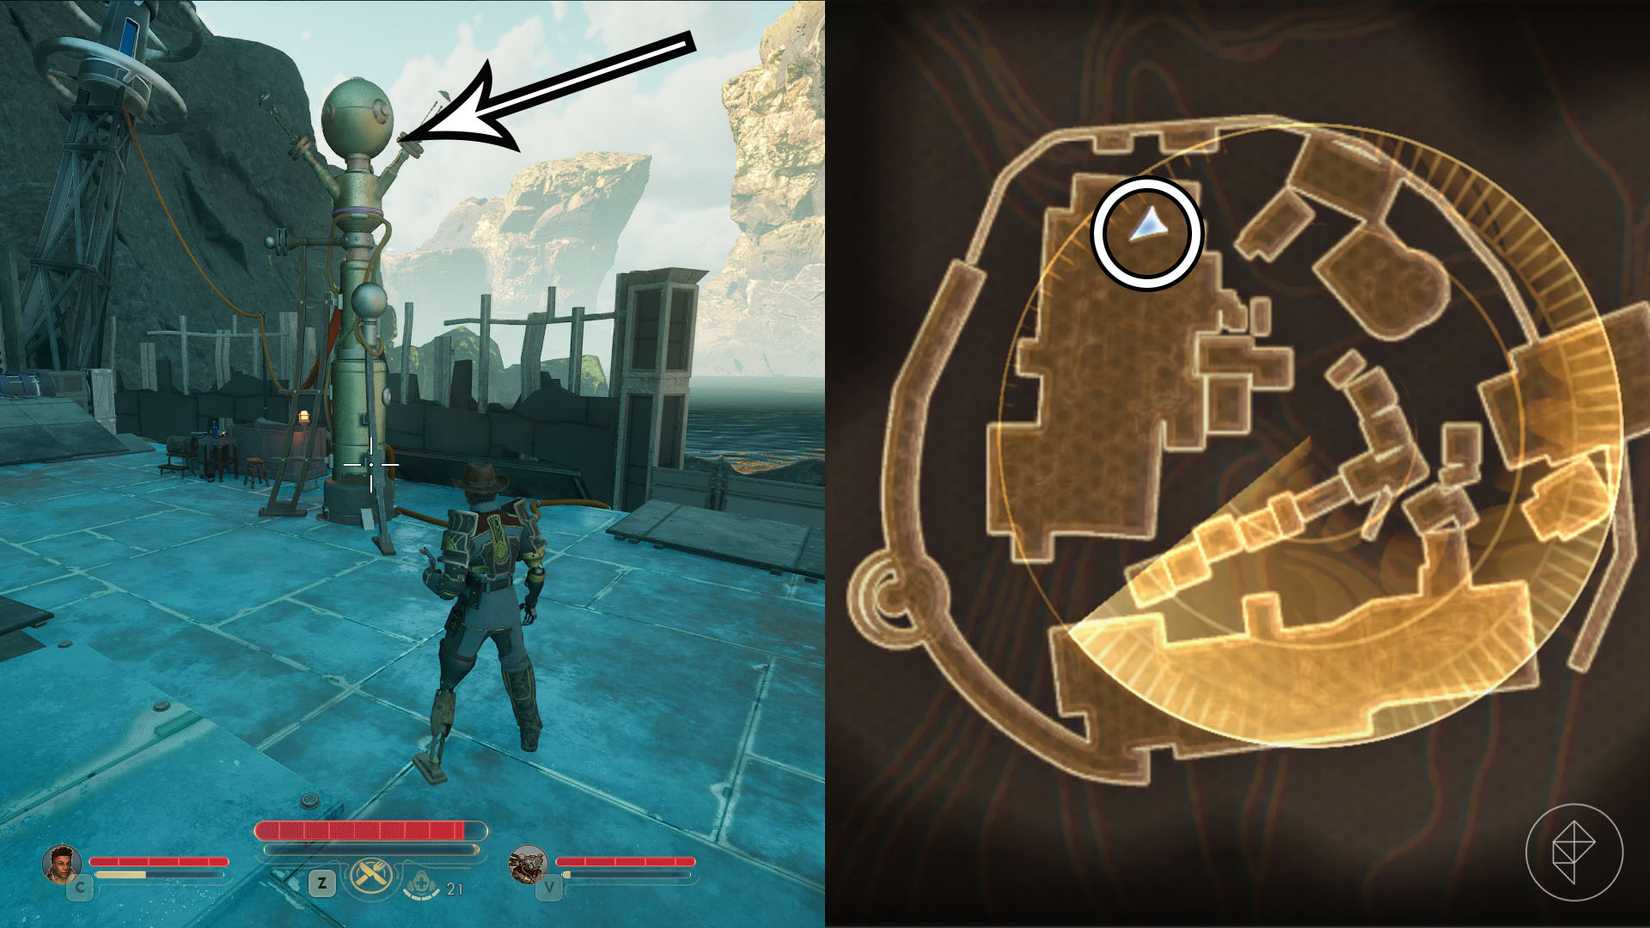
At the northern end of the camp, just before where you found the destroyed automechanic, you’ll find a ramp that allows you to climb to the top of the northwestern building. You’ll find it there radio tower. Whether its signal has been weakened or not remains a mystery – unless you have one level 5 Scientific literacy.
Once you have checked all five points of interest, return to Tristan and discuss your findings with him. You don’t have to find all the clues to complete the taskhaving the chance to choose a dialogue option when talking to him, saying you’re done (
Discussing the findings
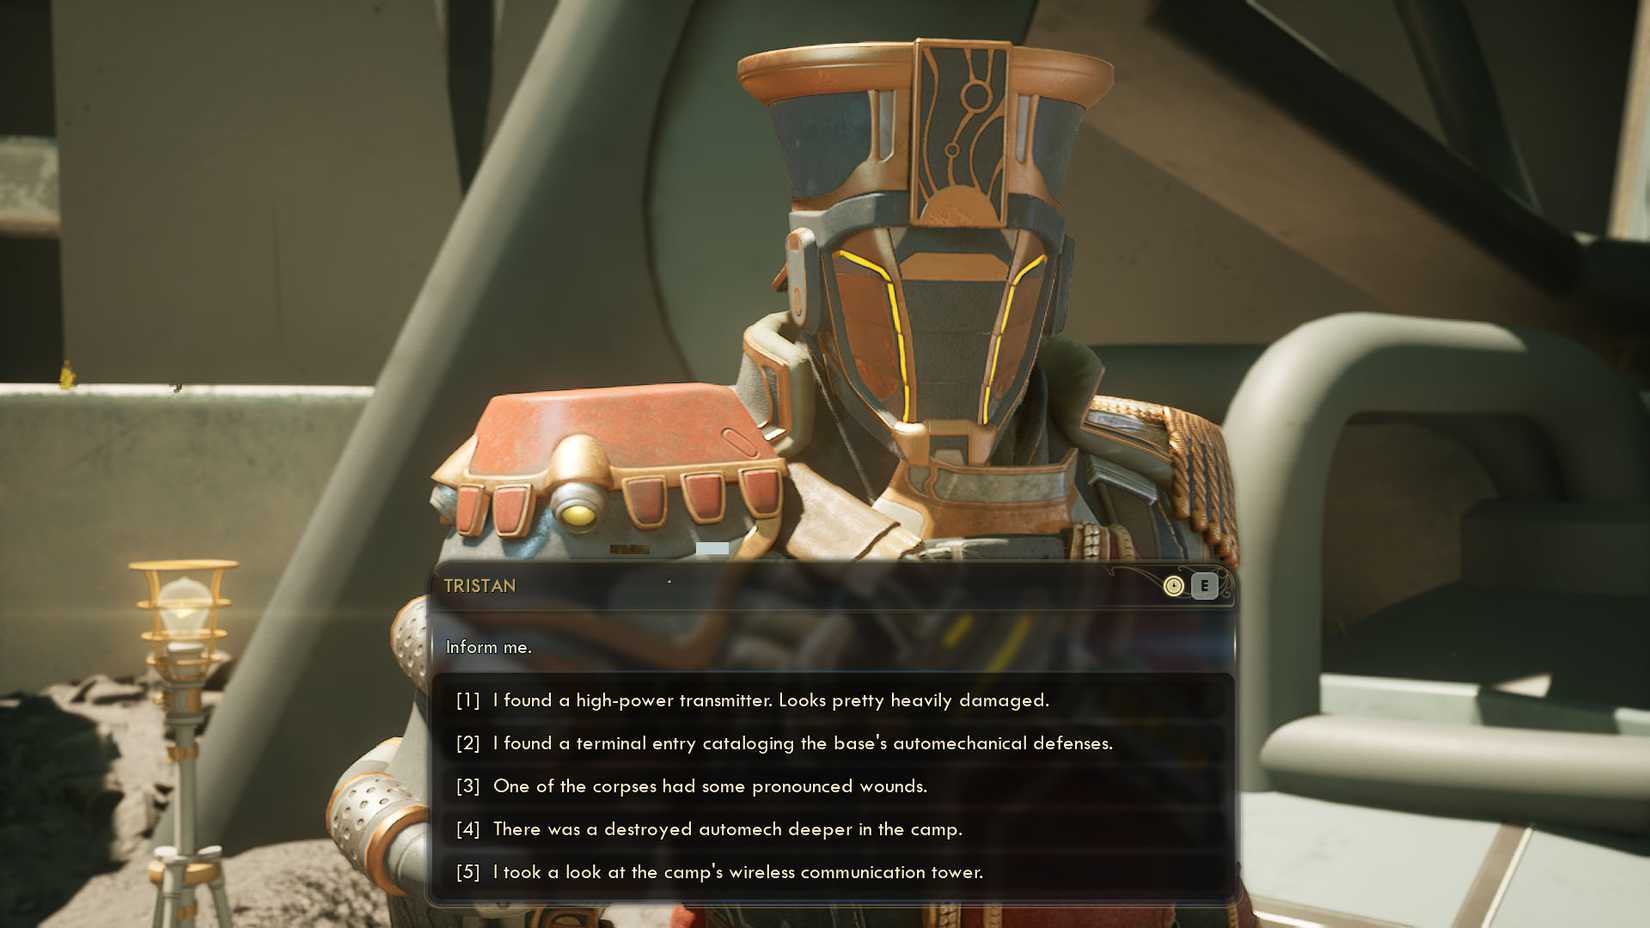
After collecting the evidence, interact with Tristan and select “I found something that I think might be important” to discuss your findings with him.
Although they exist no “wrong” answers speaking of tips, you have a chance to impress Tristan by giving specialized answers. Always choose them if they are available to you, but you can only choose these unique answers if you have the required skill level or experience. In our experience, one dialogue option appeared because we had a “professor” background.
Here are the skills you need to give Tristan the best answers when discussing each clue:
- Terminal: Engineering (Level 3)
- Corpse: Medicine (Level 3) or Weapons (Level 5)
- Transmission tower: Engineering (Level 5)
- Heavily damaged machine: Melee (Level 5) or Hacking (Level 5)
- Radio tower: Science (Level 5)
Completing the investigation with one or more clues will lead to a fight with two auto mechanics. Defeat them and you’ll be ready to return to the 2nd choice bar at the Free Market Station.
After meeting the Trader and finding out why Tristan needed lend a hand, you can finish the quest by talking to Tristan outside the bar. This is also the moment when you can officially recruit him as a companion, so don’t waste your chance.
For additional lend a hand with your Arcadia adventure, check out our Outer Worlds 2 beginner’s guide and recommendations for the best skills and best perks. Don’t forget to double jump while you’re still on Paradise Island, between helping Milverstreet or Kaur and getting to the Fairfield Armory. Speaking of Eden, our guide to finally choosing a Vox relay station explains the consequences of your actions and how to get around it without harming anyone.


