Are you looking for a detailed description of the Fog Rift Catacombs in Elden Ring: Shadow Of The Erdtree? Fog Rift Catacombs is a mini-dungeon in Elden Ring’s Shadow Of The Erdtree DLC that’s riddled with sneaky enemies and ceiling spike traps that threaten to beat your Tarnished to a pulp. The dungeon does, however, contain a number of rewards, including a nice pair of dual axes if you manage to defeat the Death Knight boss at the very end.
For anyone still caught out by the falling catacomb ceilings, we’re here to lend a hand. In this guide, we’ll explain exactly what you need to do to navigate the gloomy chambers of the Fog Rift catacombs in Elden Ring: Shadow Of The Erdtree.
Manage your cookie settings
Fog Rift Catacombs Walkthrough
To get to the Fog Rift Catacombs, head northwest from Front of the castle Site of Grace. You’ll need to make your way deep into the valley, and you’ll know you’re in the right place when the mist begins to permeate the area. The entrance to the catacombs is in the northern rock face; open the door, take the elevator down, and you’ll find the Site of Grace in the dungeon.
Be careful if you run directly into this room, as the ceiling will collapse as soon as you do (possibly killing the imp, which is hilarious). The best practice here is to wait for the ceiling to collapse, then run through it as it slowly rises. There is an alcove to the left that you can duck into for safety, as seen in the screenshot below.
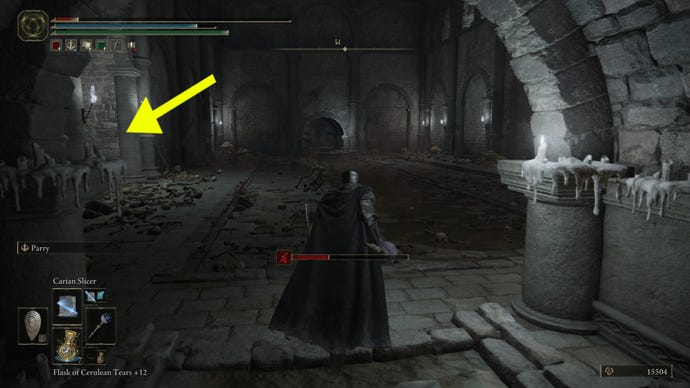
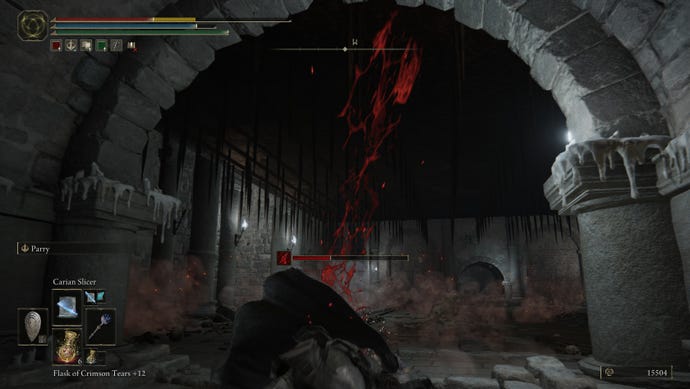
At the end of this room is another imp. Deal with it and continue on. Be careful when you turn the corner in the next hallway, as a wizard is standing on a catwalk and shooting at you. These guys are the second main enemy in Fog Rift Catacombs, and their main method of attack is firing projectiles that slowly curve towards you, bouncing the projectiles off anything they hit.
The left path leads down a set of stairs to a deep drop. As you approach the drop, the pointed ceiling will collapse down. You’ll have to backtrack a bit to get to this point, so for convenience’s sake let’s classify this section of Fog Rift Catacombs as Junction 1.
Junction 1 Fog Rift Catacombs
From your vantage point, you can either drop down and explore the ground floor as the ceiling rises, or jump onto the ceiling to reach up-to-date areas. It’s hard to explore the ground floor from your current angle without taking damage, so we recommend taking the ceiling route first.
If you jump onto the ceiling and run straight through it, you will find a platform with another devil, Yellow fulguru flowerand 3 Resin Knot on the corpse. Then run through the ceiling again to reach a up-to-date area with a wizard, more Yellow fulguru flowerand a path that will take you across the walkway that was previously above you.
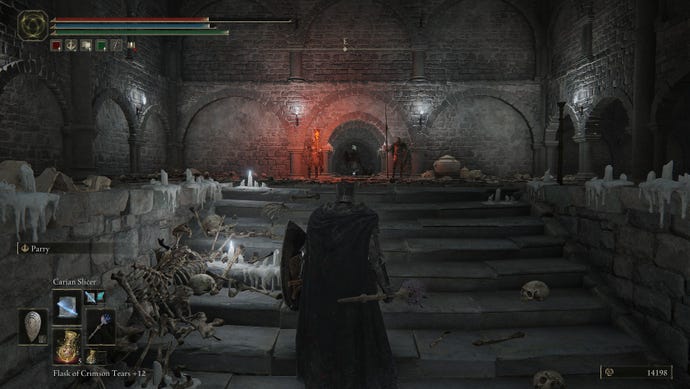
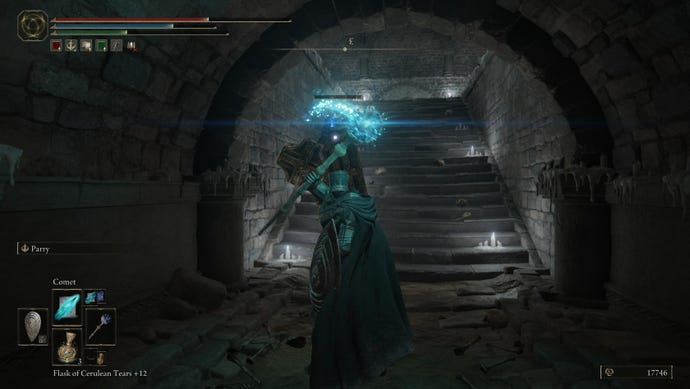
Behind this passage are stairs leading to two soldiers and a Black Knight. Take them all out (watch out for the Black Knight’s massive shield and mace) and be aware that a third soldier will attack you from the right as you go deeper into the room. Great Spirit Glove waiting for you as a reward. Once you pick it up, go out the same way and turn left, standing on the edge of the ledge. When the spiked ceiling collapses, jump and run through it to reach the corridor leading to Black Knight Commander Andreas Spiritual ash.
Once you have everything collected, head back to Junction 1. It’s time to explore the ground floor below the spiked ceiling you were climbing earlier. When the ceiling rises, immediately drop to the ground and roll into the up-to-date room with Yellow fulguru flower and the imp. From the angle you should be standing at if you followed this guide, all you have to do is back up. In this room you will see a ladder. Climb it to reach an area with 4 Yellow fulguru flowers.
Return to the ground floor of Junction 1 again, then run straight into the up-to-date room where the stairs lead down. Loot the corpse to get 2 Dragonbolt Greaseand keep going until you stand on the pressure plate of the elevator that will go down.
Go out, pick up another one Yellow fulguru flower (Are you tired of looking for them yet?) and head down the stairs to reach a enormous, cavernous room. Don’t go inside yet. Consider this junction 2, as more backtracking will begin shortly.
Junction of 2 Fog Cleft Catacombs
You should be used to this by now – the enormous, spiked ceiling will crush you the moment you enter this room, but there are four alcoves scattered on either side of the room. Be prepared to zigzag into the alcoves to avoid the ceiling, and watch out for the imp that will try to attack you in the first alcove on the left.
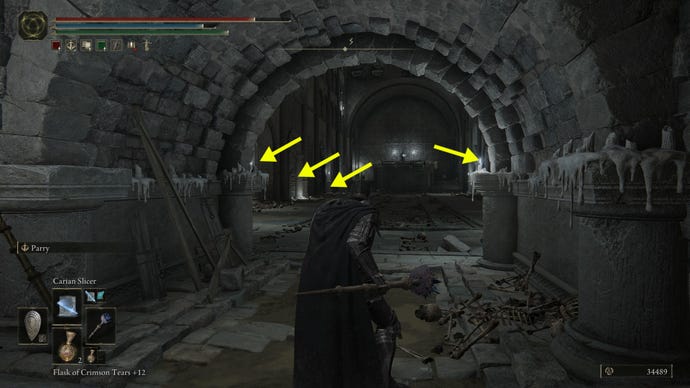
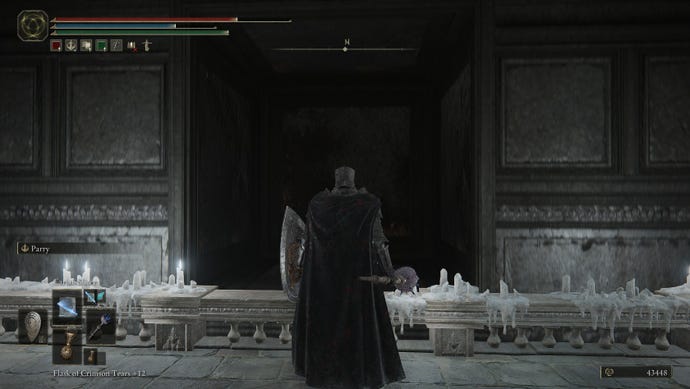
When the ceiling lifts you up, turn around to see a chest with Lightning Ash of War inside. Grab it, wait for the spiked ceiling to collapse again, then jump on it and run to the passage in the far northeast. There is an altar here; either you can pick up Sword in a stone scabbard at this altar, or if you already have it, you can replace the blade with Sword of Darkness.
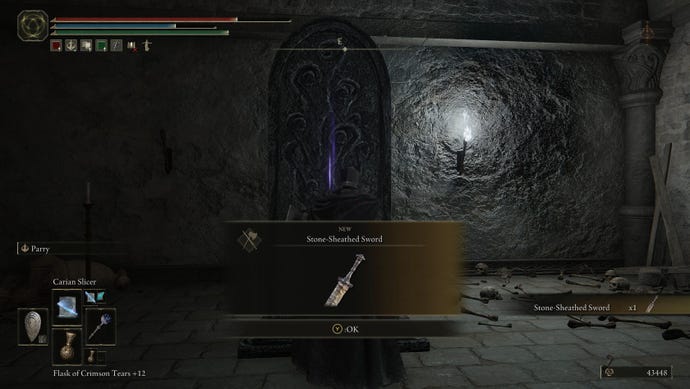
Run through this area to the platform, hit the pressure plate, and then take the lift down. Eventually, you’ll reach the entrance to the boss room, where Knight of Death is expecting you.
How to Defeat the Boss in the Mist Rift Catacombs
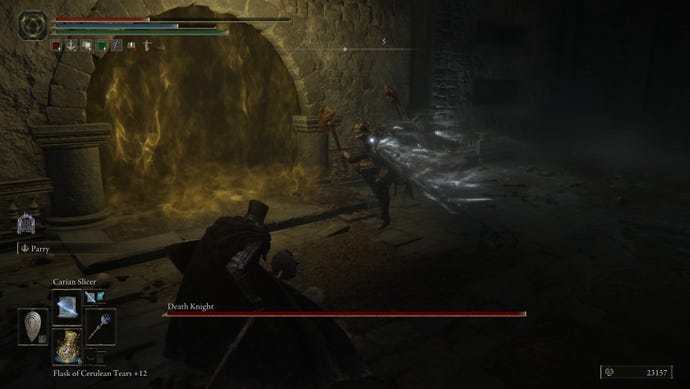
The Death Knight is a formidable boss who will attack you with spins and axe swings, as well as lightning bolts and lightning dashes. He hits challenging, but his lightning attacks have a long wind-up time, meaning you can definitely slip in a few well-timed melee slashes. You can also break his Poise with two consecutive weighty attacks, and if you have any items that can provide lightning resistance (like Dried liver resistant to lightningnow is a good time to employ them.
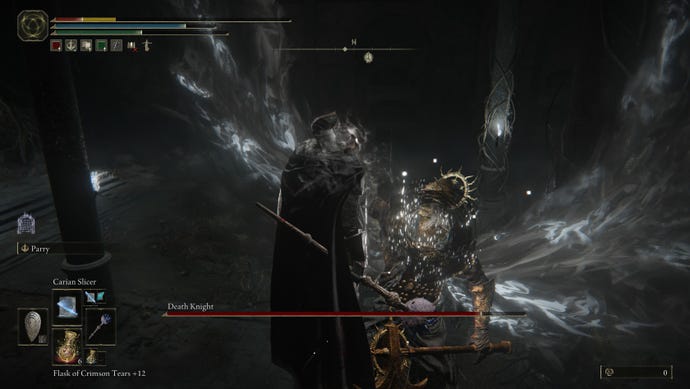
If the Death Knight ever transforms his cape into giant wings, start rolling. This is an indicator of a dash move, where the knight will grab you, stab you multiple times, and throw your body back to the ground. Sure, it hurts a lot, but once again, the telegraph is pretty obvious.
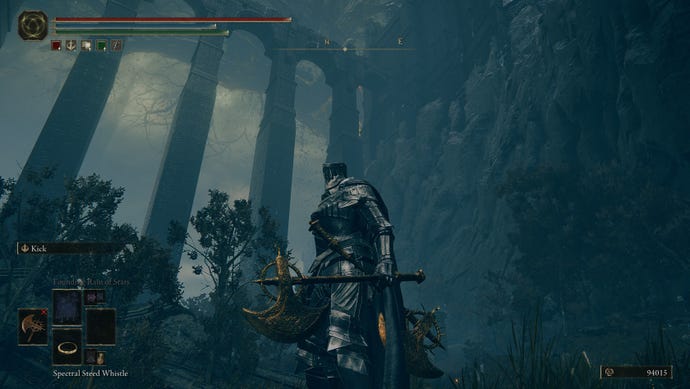
The Death Knight has been defeated, and the Fog Rift Catacombs have finally been cleared. Well done! For more Elden Ring: Shadow of The Erdtree dungeon walkthroughs, check out our Ruined Forge Lava Intake guide. And if you’re having trouble reaching other areas of the Land of Shadow, we’ve got all the information you need to reach Cerulean Coast, Cathedral of Manus Metyr, Charo’s Hidden Grave, and Stone Coffin Fissure.

